
You probably associate an animated GIF with social media.
They are usually a type of short video for amusement value and are often small snippets taken from YouTube videos.
If it is only for fun, you can find thousands of them online if free GIF libraries.
But what if you want to create an animated GIF yourself?
Using a GIF on a post
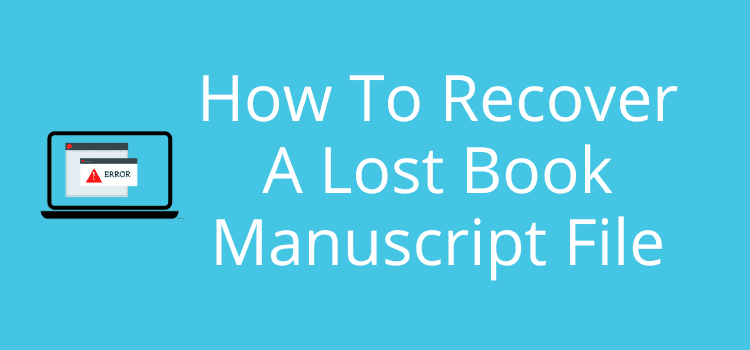
Perhaps if the subject of this post was about books that are real page-turners, I could add something like the one below.
I know it is not the most exciting high-quality GIF ever made, but it is suitable to show you that you can add one to a blog post on most blogging platforms.
If you use WordPress, you can load up a GIF in the same way you load all your images in the Image Editor.

A lot of the GIFs you see on the Internet are made from video files and converted video frames to layers.
It involves quite a lot of work, and some of them use hundreds of individual file import video frames.
To turn a video into a GIF, you need to copy the individual frames of a video.
Some people create an animated GIF in Photoshop, which is a little complicated.
I am not an expert. But from what I could understand, you need to load the frames from layers and then load files into a stack.
I stopped there because it was all way too complicated for me.
My quick GIF experiment
GIF files are image files with limited application for a blog post or article.
But from time to time, they are useful.
I toyed around with the header image before writing this post.
After all my experiments, I decided to stay with a still image.
But not to waste all my work, here is the GIF version I made.
It works to create frame animation that you can quickly use on a blog post.

How to make a GIF, the easy way
The easiest way to create animated GIFs is to use a free online GID creator or GIF maker.
There are many of them, and they all work in a similar way.
But first, you need to create the slides you will use to build your GIF.
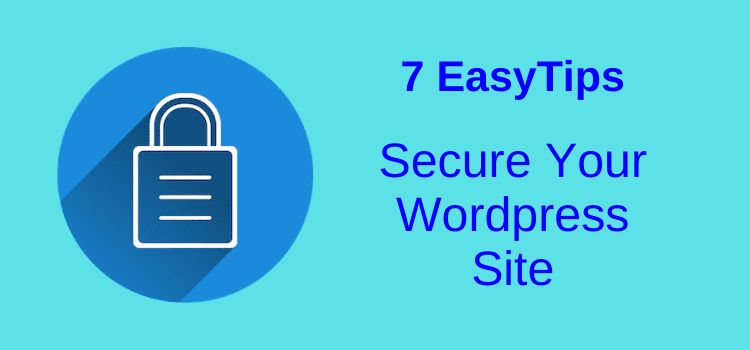
For the example above, I used Canva to make four images.
You can create many more, but for my example above, four was enough.
For each image, I changed the words and the text colors.
Then, I used a free online gif maker tool.
There are plenty to choose from if you do a Google Search.

Just click “Upload Images” to select your files.
Each image will create a new layer.
Then, once you’ve uploaded them all, you can make some minor adjustments before you preview your GIF.
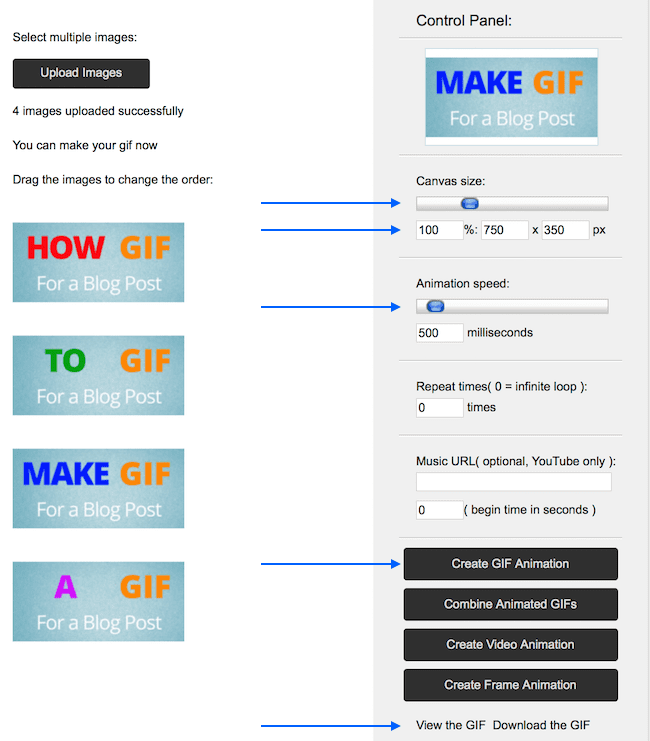
If your slides are in the wrong order, you can change this by dragging and dropping.
You have a couple of settings you can choose to change.
The canvas size is like the image size. Set it to suit your blog, but generally, 750px is large enough.
Of course, the file size will increase if you make it too big, which could slow down your page loading speed.
The animation speed is how fast your slides change.
You should experiment with this setting to find the best speed for the type of GIF you want to create.
When you have selected your settings, click “Create GIF Animation.”
You will see a menu load below with “View” or “Download.” Click file download, and you have made your GIF.
If you try to open the file with an image previewer, you will only see the slides.
To check your new GIF, you will need to open it in Chrome, Safari, or Firefox.
What can you do with a GIF on a blog post?
The primary use for GIFs on a blog is to condense information or long lists.
Using columns on a blog page is not a good idea anymore because they are not responsive.
That means that they will not be viewed correctly on a mobile phone.
Columns just get reduced in size to fit a small screen, and then the text becomes too small to be able to read.
Without using columns, if I wanted to include a list of the seventy-five most popular books, it would stretch way, way, way down the page on a laptop and further on a phone or tablet.
A better way is to use a GIF.
Again, you need to make slides, but this time I used screenshots and then cropped them all to the same size.

Now my list of 75 books takes up much less page space.
Also, on a small screen like a phone or tablet, the GIF will resize automatically to fit.
I have optimized the GIF above to ensure it loads as fast as possible.
But you can select the amount of compression you use if you want to have sharper text.
Conclusion
You are not going to use a GIF on every blog post or article you write.
But from time to time, they are useful, especially for fitting a lot of information into a manageable space.
It took me a few tries to find what worked and what didn’t work.
What I found was that it was essential to resize the images I used before I tried to create a new GIF.
You can make this calculation from the image sizes you currently use in your blog.
The biggest mistake you can make is to create a GIF that is much wider than your maximum blog page width.
You can check this in your theme. If you use a sidebar, the width might be between 600 and 800 px.
If you use a GIF that is perhaps double the width of your actual blog page, it will be resized automatically by your blog platform.
It will look fine to you, but your page loading speed will decrease dramatically because of the large file size.
Apart from the size issue, there is nothing special about including a GIF in your blog posts.
Use GIFs in the right place for the right reasons.
They can be a practical tool to use as part of your blog posts to give your readers some types of information in a much better form.
Related reading: 50 Free Writing Software Tools And Apps
English teacher, writer, and author. Passionate about grammar, creative writing, and self-publishing. Always exploring new tools and tech to help writers succeed.

I thought you could find a suitable gif say on FB then save the image and then upload to WordPress? Not tried it yet but I understand it can be done?
Yes, you can use any gif you find and download from the Internet on WordPress. But you can also make your own if you want one that is unique.